
 This is a new in a series (hopefully!) of small tutorials that will cover some items of track editing. These come as an answer to some frequently asked questions to us! Due to the large amount of text, english and portuguese versions will come in separate messages for easier searching later. So here it comes, today's topic is "Positioning Pitlane Entrance"
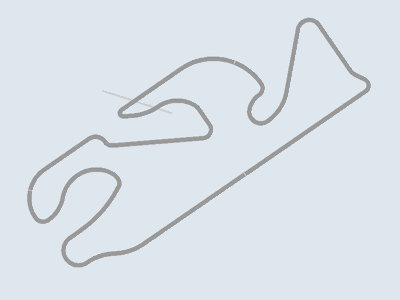
Step 1 - Let's say you are building a track from scratch, either a real one or a fictional one, that is not based on one existing track layout. Most likely the pitlane entrance will not be where you want it to be, it's more like you found the golden goose if it is at the right spot. So let's put it where it belongs.
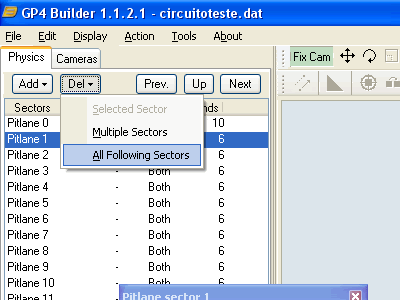
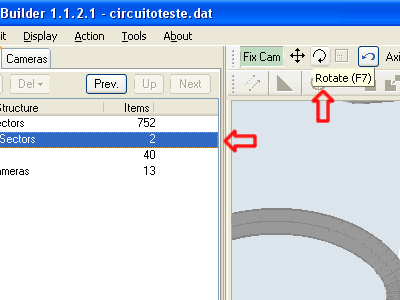
Step 2 - First, it is easier to work with a small pitlane. The existing sectors will not be of much use anyway. In the Physics tab, double-click Pit Lane Sectors, select Pitlane 1, then Del, All Following Sectors. This will leave you with just the two first pitlane sectors.
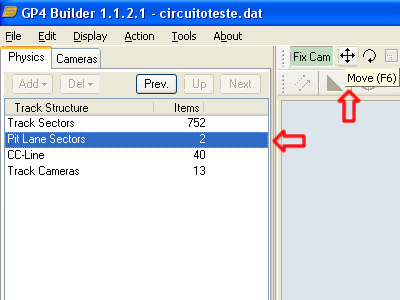
Step 3 - Now, press Up, click Pit Lane Sectors and select the Move tool, as shown in the picture. With this, you can move the pitlane using the left mouse button across the screen. Also, you can move it up and down with the right mouse button.
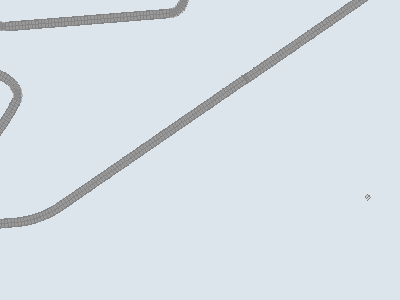
Step 4 - Move the pitlane sectors to their appropriate position. This should be at least 5 sectors from where the pitlane actually starts to leave the track, and if possible, on straight track sectors, but don't worry too much about this right now.
Step 5 - Most likely the pitlane will not be oriented correcly along the track. So use the Rotate tool together with the mouse to rotate the pitlane.
Step 6 - This is a little tricky part, as the pitlane rotates around the center of coordinates, so it most likely will go away from the place you have put it on before. Just rotate it until you think it's at the right direction, then use the Move tool and put it back in the desired place.
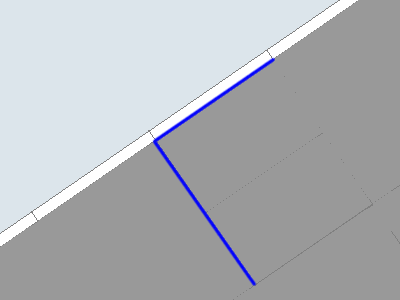
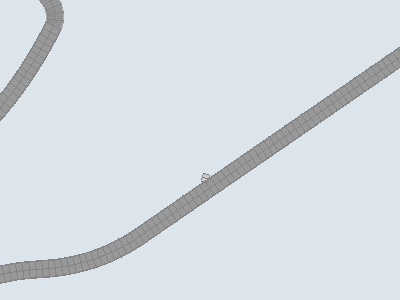
Step 7 - Go between Rotating and Moving until you can align the first sectors with the track, according to the blue lines on the picture. If you can match the pitlane and the track at these two points, it's done. In this picture, the pitlane sector "zero" is on the left and the sector "one" is on the right.
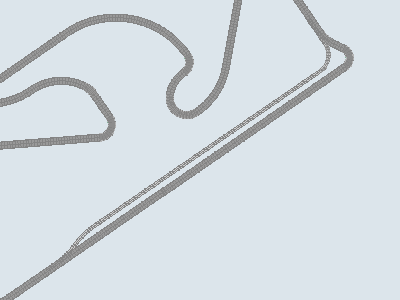
Step 8 - Now it's at the right place, just create the pitlane as you would do with the track. Just take care to make the exit aligned too, and in this case, Moving sectors is strongly discouraged, instead make them so they can meet the track smoothly without the need to Move them manually.
That's it for now!
4 comments:
Aqui é uma prova real da humildade de vc's, em socializar os conhecimentos adquiridos ao longo dos anos.Conhecimentos esses que são empregadas em cada pista criada por vc's,e cada vez com mais detalhes no aperfeiçoamento das mesmas.Esses tutoriais são um verdadeiro achado.Felizes daqueles que aproveitarem essa ótima oportunidade.Um grande abraço do brother fã dos trabalhos seus e do GP-4.
A small note to say that Step 6 will disapear in next GP4Builder revision, thanks to this tutorial :) [Lo2k]
If you go to sector level and select pitlane 0 before using the rotate feature, sector will rotate around its center, avoiding the step 5-6 troubles.
Thank you for this tutorial. I try my best to make a dat and thanks to this "step by step" I succeed to do my first layout and cc line by doing (for the beginning) a simple oval. For this moment not a pitlane but I improve as I can. Viking75.
Post a Comment