
 After a long hibernation, this section comes back with a subject asked quite a lot lately: how to insert a Google Earth picture in GP4Builder for track building. This tutorial requires an external image editing software of your choice.
Before we start, I shall remember that one of the reasons for the tutorial sleep was that I couldn't find much to talk about, so if someone has an idea for a new topic, just tell us!
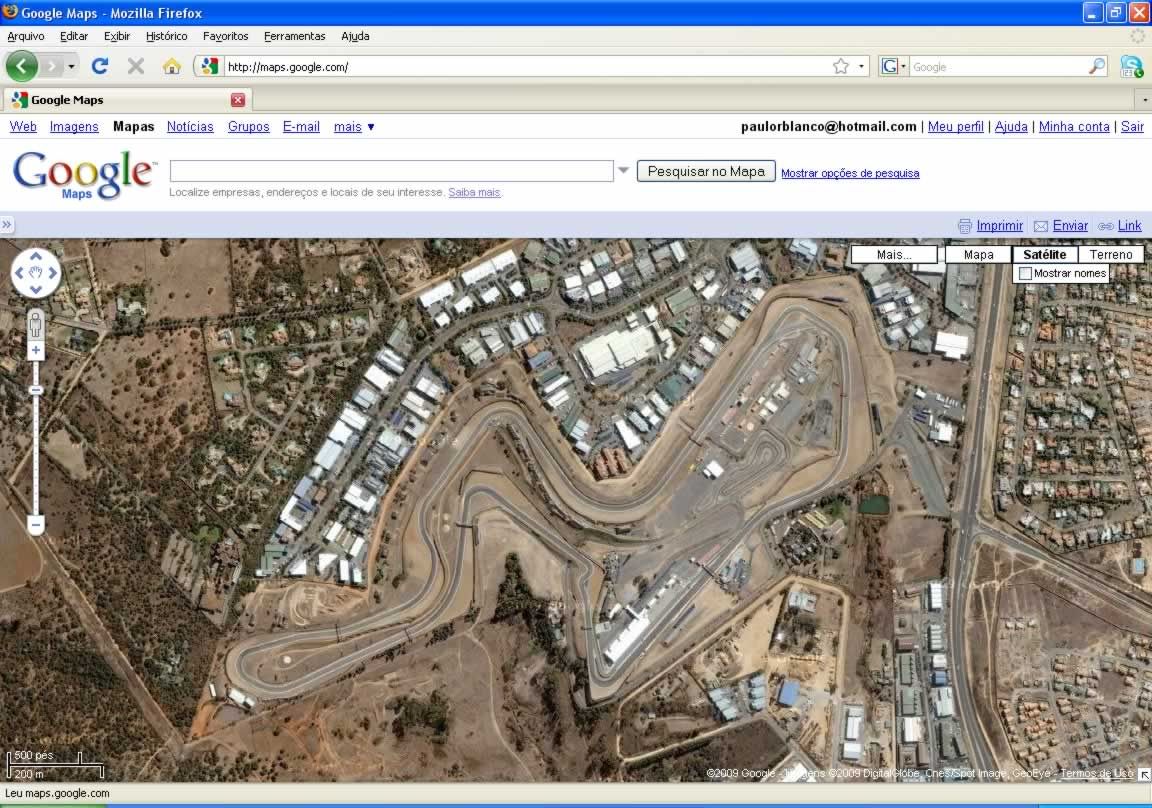
Step 1 - Obviously, find the track you wish. Use Google Maps instead of Google Earth, simply because Google Earth is round and Google Maps is flat, and we're going to use flat surfaces in GP4Builder.
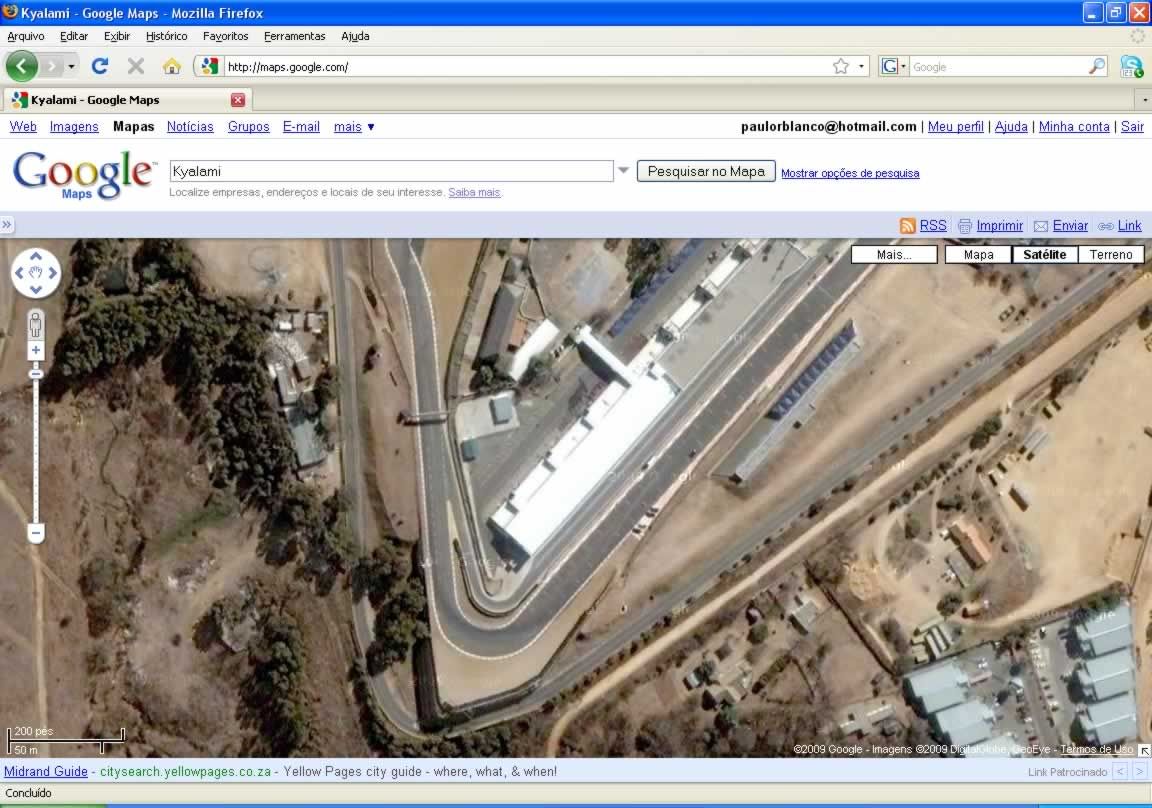
Step 2 - The closer the better, so zoom in until you get a good resolution. How good? An approximate measure is that track width on screen should be at least half of your fingers' width. Not precisely like that, just an estimate.
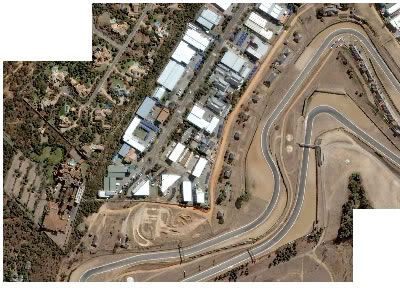
Step 3 - Resolution chosen, use an image editing software (Photoshop for example) and PrintScreen to set up a jigsaw with the track's pictures. Just take many screens and put them together with your software. The exact procedure varies between different programs, so I won't go deeper in this.

Step 4 - When you finish the jigsaw with the whole track and run-offs, and some buildings you believe are important, save the image as a 32-bit .tga file. Again how exactly this is done depends on your software, but shouldn't be hard to find.

Step 5 - Extremely important: how big is this map? Luckily, the guys at Google gave us a scale. Still using your image editing software, measure how many pixels is the meter scale. In this example, 50 meters equal 93 pixels.

Step 6 - Back to the known, open in GP4Builder any track's .gp4 file and its corresponding .dat, for example, montreal2001.gp4 and s1ct08.dat - preferably choose a track that has the pitlane the same side as the track you're building. In the Graphics tab, double-click Scenes, then Add, New Scene.
Step 7 - Now let's create the map object in GP4Builder. Click Add again, and New Object this time. Now we need that scale: in this example, my .tga file is 2816x1792 pixels big (which is a good size), how big should it's object be? Width-wise, it's 2816/93*50 = 1513.978. Same for height (1792/93*50), we get 963.441. So the object's size is 1513.978 width (X) and 963.441 height (Y). Put these values in the respect fields in the Size row. Finally, click Create.
Step 8 - To see clearer, turn Show selected scene only on, or delete the remaining Scenes if you find it more convenient.
Step 9 - Open the newly-created object double-clicking its name on the object list on the left of the screen. In the window that opens, click Add and type your map .tga's filename in the Add New Texture window, then click Add to list. Just to remember, the .tga and .gp4 files must be in the same folder.
Step 10 - There is our map, ready to be a base for a .dat file, with all the realism we can get from a satellite photo.
Tip - When building the .dat, turn Ortographic View and Fix Cam on, in Physics options turn Wireframe on and turn Plain off, and turn off Rotate/Zoom Mode in Preferences, Tools menu. This way you get the most of the picture, without the distortion of 3D-perspective.
Google Maps © 2009 Google, Imagery © 2009 DigitalGlobe, Cnes/Spot Image, GeoEye
3 comments:
Parabéns... mas parabéns mesmo!!!
Eu tv querbrando a cabeça pra fazer isso... peguei até um tutorial no RealGpX, traduzi pro portugues(graças ao google, rs) mas não consegui fz isso.
Parabéns e muito sucesso para vocês ae!!
When I put the 3d map into Gp4 builder I can't see the track (looks like it's under the jigsaw picture). Any ideas on how see the track?
Solved it! Thank you
Post a Comment